사용자가 로그인 페이지를 통해 블로그에 로그인을 할수 있습니다. 다음으로는 사용자가 로그인을 했는지 여부에 따라 페이지를 조정할수 있는 작업을 합니다. ArticlePage에서 이제 로그인 사용자만 좋아요를 한번만 누를 수있다던지 댓글을 로그인 한 상태에서만 작성할수 있는 제한등을 설정 합니다. 그러기 위해서는 Article페이지에 이 설정을 알려줄수 있는 작업을 해야 합니다. 그래서 이제부턴 Custom auth hook를 작성하도록 합니다.
현재 로그인 한 사용자들이 사용하고 훨씬 쉽게 찾을 수 있는 사용자 지정 Hook를 생성합니다. 그래서 src폴더 아래에 새로운 hooks라는 폴더를 먼저 생성합니다. 여기에는 custom hook를 저장시키는 용도로 사용합니다.
그 후 사용자 관리를 할 useUser.js라 파일을 생성해 주고 코드는 다음과 같습니다.
useUser.js
import { useState, useEffect } from 'react';
import { getAuth, onAuthStateChanged } from 'firebase/auth';

const useUser = () => {
    const [user, setUser] = useState(null);
    const [isLoading, setIsLoading] = useState(true);

    useEffect(() => {
        const unsubscribe = onAuthStateChanged(getAuth(), user => {
            setUser(user);
            setIsLoading(false);
        });

        return unsubscribe;
    }, []);

    return { user, isLoading };
}

export default useUser;
그 다음으로 이제 Article페이지에 지금 생성한 hook를 이용해서 사용자가 로그인 한 상태인지와 댓글 좋아요를 표시하는 부분을 작성합니다.
AritclePage.js
import { useState, useEffect } from 'react';
import { useParams } from 'react-router-dom';
import axios from 'axios';
import NotFoundPage from './NotFoundPage';
import CommentsList from '../components/CommentsList';
import AddCommentForm from '../components/AddCommentForm';
import useUser from '../hooks/useUser';
import articles from './article-content';

const ArticlePage = () => {
    const [articleInfo, setArticleInfo] = useState({ upvotes: 0, comments: [] });
    const { articleId } = useParams();

    const { user, isLoading } = useUser();

    useEffect(() => {
        const loadArticleInfo = async () => {
            const response = await axios.get(`/api/articles/${articleId}`);
            const newArticleInfo = response.data;
            setArticleInfo(newArticleInfo);
        }

        loadArticleInfo();
    }, []);

    const article = articles.find(article => article.name === articleId);

    const addUpvote = async () => {
        const response = await axios.put(`/api/articles/${articleId}/upvote`);
        const updatedArticle = response.data;
        setArticleInfo(updatedArticle);
    }

    if (!article) {
        return <NotFoundPage />
    }

    return (
        <>
            <h1>{article.title}</h1>
            <div className="upvotes-section">
                {user
                    ? <button onClick={addUpvote}>Upvote</button>
                    : <button>Log in to upvote</button>}
                <p>This article has {articleInfo.upvotes} upvote(s)</p>
            </div>
            {article.content.map((paragraph, i) => (
                <p key={i}>{paragraph}</p>
            ))}
            {user
                ? <AddCommentForm
                    articleName={articleId}
                    onArticleUpdated={updatedArticle => setArticleInfo(updatedArticle)} />
                : <button>Log in to add a comment</button>}
            <CommentsList comments={articleInfo.comments} />
        </>
    );
}

export default ArticlePage;
이제 결과 화면은 확인합니다.
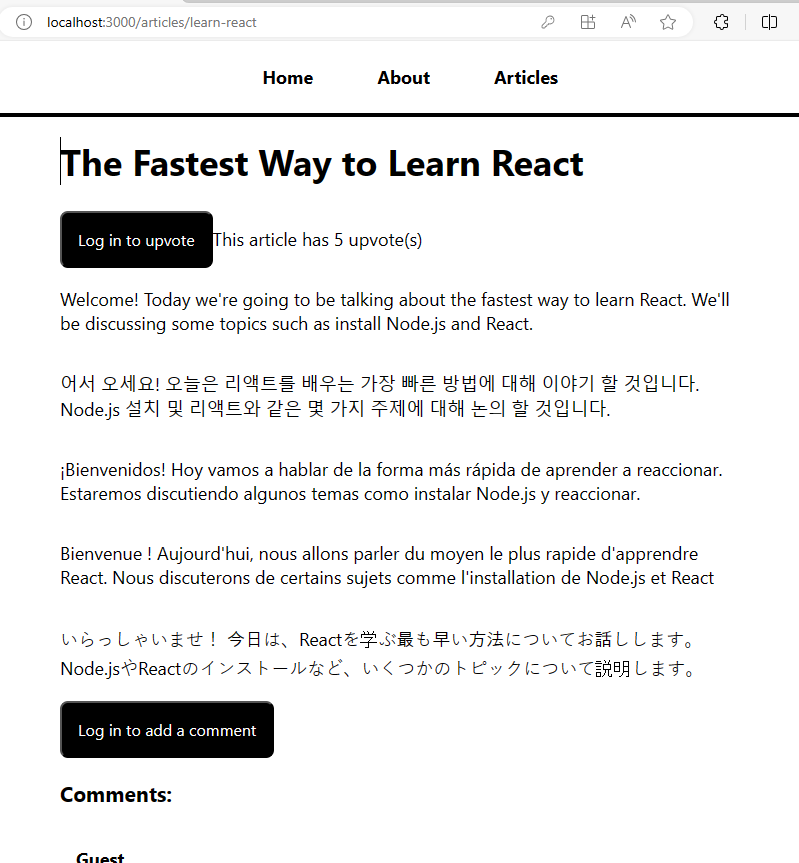
로그인을 하지 않았으므로 Log in to upvote 버튼과 Log in to add a comment 버튼이 생겼습니다.
자, 이번에는 로그인을 해서 화면을 확인합니다.
로그인 페이지로 가서 Firebase 프로젝트에서 생성한 사용자 테스트 계정 myreactblog@gmail.com/Abcd123! 을 이용해 로그인을 하고 블로그 페이지를 확인합니다.
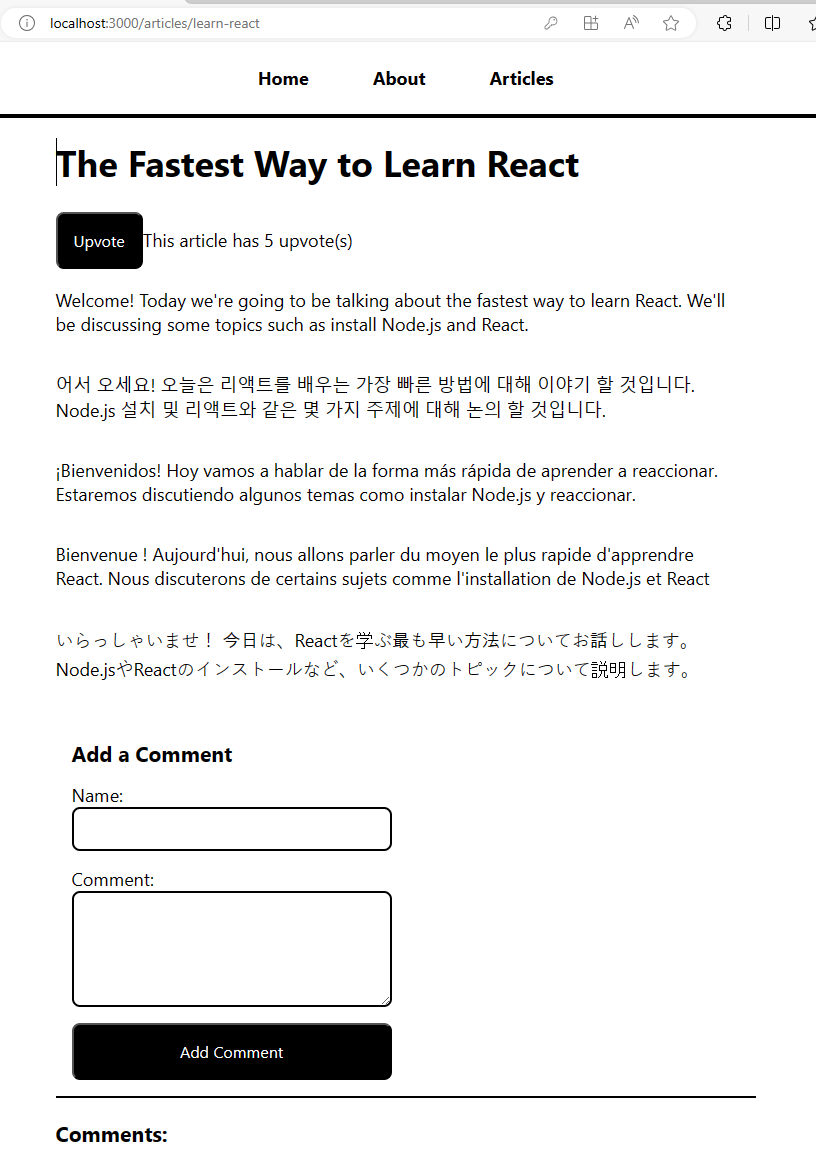
문제 없이 좋아요을 클릭할수 있는 Upvote 버튼과 댓글을 달수 있는 Add comment 부분이 생겼습니다.
'PROGRAMING > FULL STACK' 카테고리의 다른 글
| [Auth] Adding Firebase Auth to Node.js (0) | 2024.03.26 |
|---|---|
| [Auth] Build create account page (0) | 2024.03.26 |
| [Auth] Login form (0) | 2024.03.23 |
| [Auth] Adding Firebase Auth to React (0) | 2024.03.23 |
| [Auth] Firebase Auth (0) | 2024.03.23 |